

Introduction
In this article, we explore the process of creating a highly realistic woven chair using 3ds Max, RizomUV, and Corona Renderer.
From modeling the rope to final renders.
Step 1: Modeling the Rope Structure
The first step was modeling the ropes that would wrap around the chair’s frame.
Instead of simply extruding along splines, we manually crafted the rope geometry to capture fine structural details.
Key Techniques:
-
Detailed Rope Modeling:
A realistic rope was modeled in 3ds Max before being placed along the chair structure. -
Purpose:
Achieving maximum realism at the fiber level before any deformation or path manipulation.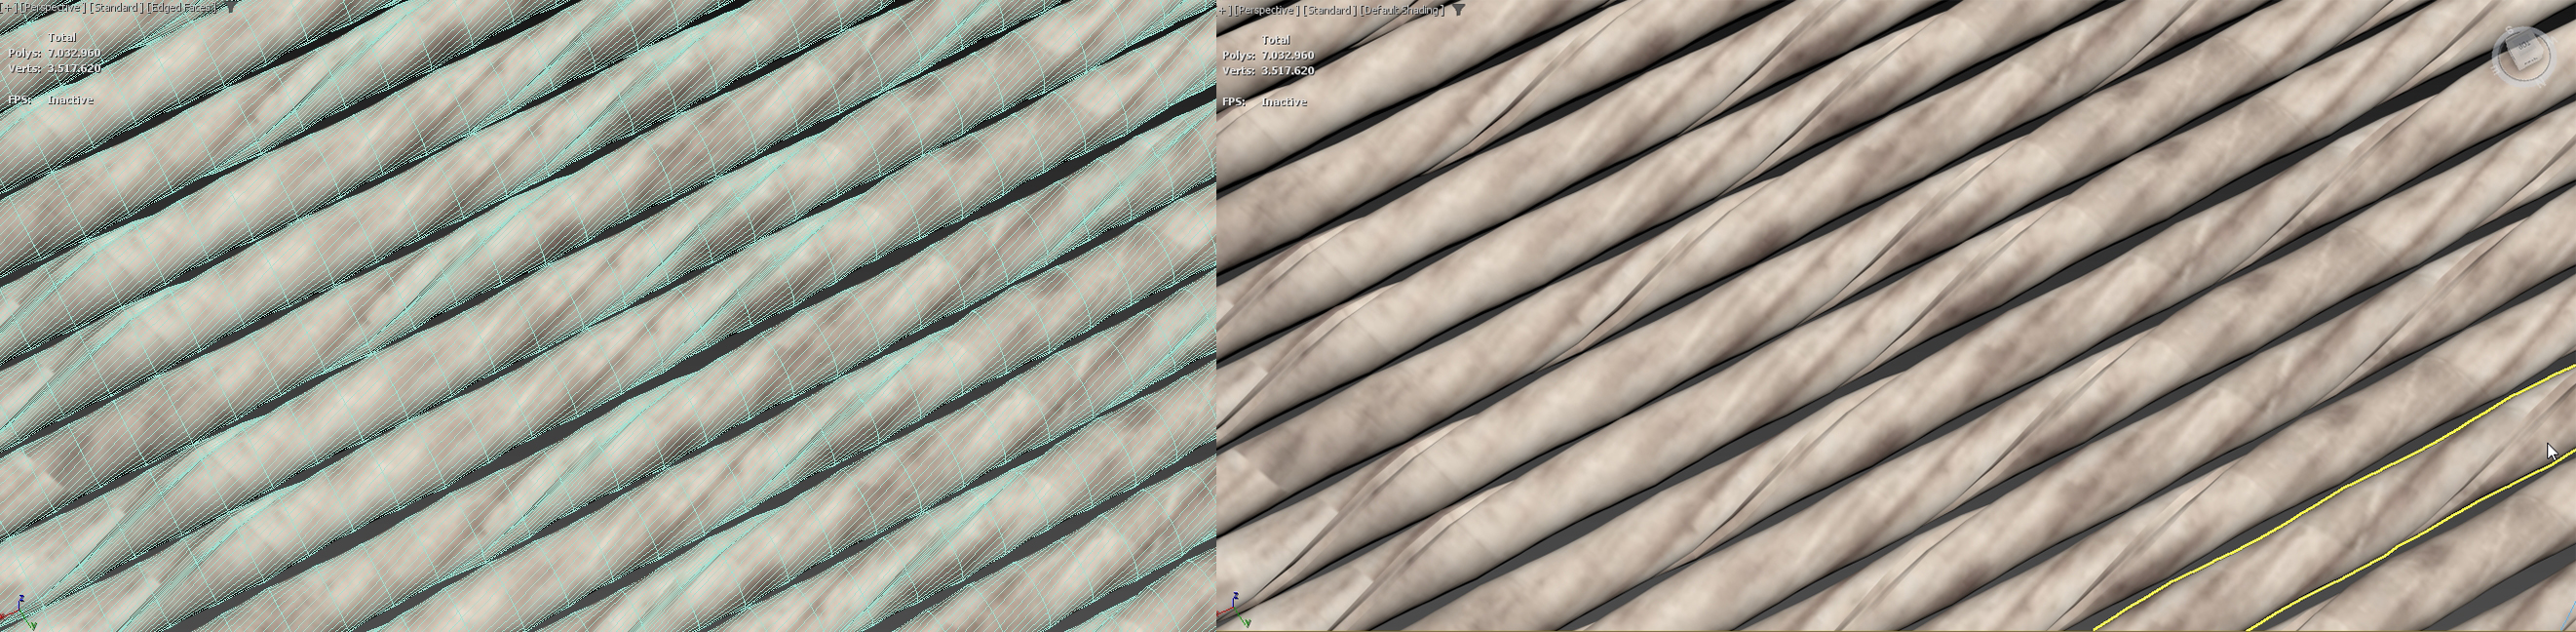
Step 2: Unwrapping with RizomUV
After modeling the rope, we performed UV unwrapping using RizomUV.
This allowed clean and optimized UVs without stretching, which is critical for applying fine-textured materials on the rope surface.
Step 3: Attaching the Rope to the Chair Frame
With the detailed rope model and UVs ready, the next phase was wrapping it around the chair frame.
Key Techniques:
-
-
Precise Placement:
The Align – Spacing Tool was used to distribute loops evenly across the chair’s frame.
Additional connections were manually created to complete the woven look. -
Spline Path Creation:
Using 3ds Max’s Spline tool, traced the paths the ropes needed to follow.
-
-
Path Deformation:
We used the Path Deform modifier to accurately bind the ropes along these splines.Video Player00:0000:00
Step 4: Rendering with Corona Renderer
For the final visualization, all elements were rendered using Corona Renderer.
Corona’s physically based rendering approach perfectly captured the material richness and natural imperfections of the woven structure.
Conclusion
Realistic furniture modeling requires careful planning, from creating detailed geometry to proper unwrapping and placement.
Investing time in these stages pays off with stunningly lifelike results, especially when combined with a capable renderer like Corona or Vray.